I picked up this appliquéd bag kit in Taipei and it came with minimal instructions in Chinese (thank you, Google translate) and I decided to finish it using the Plover Pouch pattern. Sewed entirely by hand because I was too lazy to pull out the sewing machine. 😅 #noodleheadpatterns #ploverpouch #yonglefabricmarket #handsewn
For some reason, posting finishes is hard. I entered this quilt into the Melbourne Royal Show before it was completed. I thought that the three months to due date was enough to finish the quilting I had just started and submit to the show. And I suppose it was, except it took a solid month of sewing for hours every day to ensure it was done in time and even then, I had my hubby drive me so that I could try and quickly sew on a hanging sleeve (which wasn’t used anyway).
The full quilt
It ended up being fairly stressful but it got done and it got a First!
First! But they didn’t use the hanging sleeve 🫠
Some more pictures
Quilting progress
I used a variegated sashiko thread I bought from the AQC quilt show.
My haul from the AQC Quilt Show 2023
The thread ran out right near the end and I ended up using some red perle 8 to finish off the border.
I haven’t even tried to calculate the total cost or time spent but it was definitely a LOT. I was very happy to gift it to my sister at Christmas.
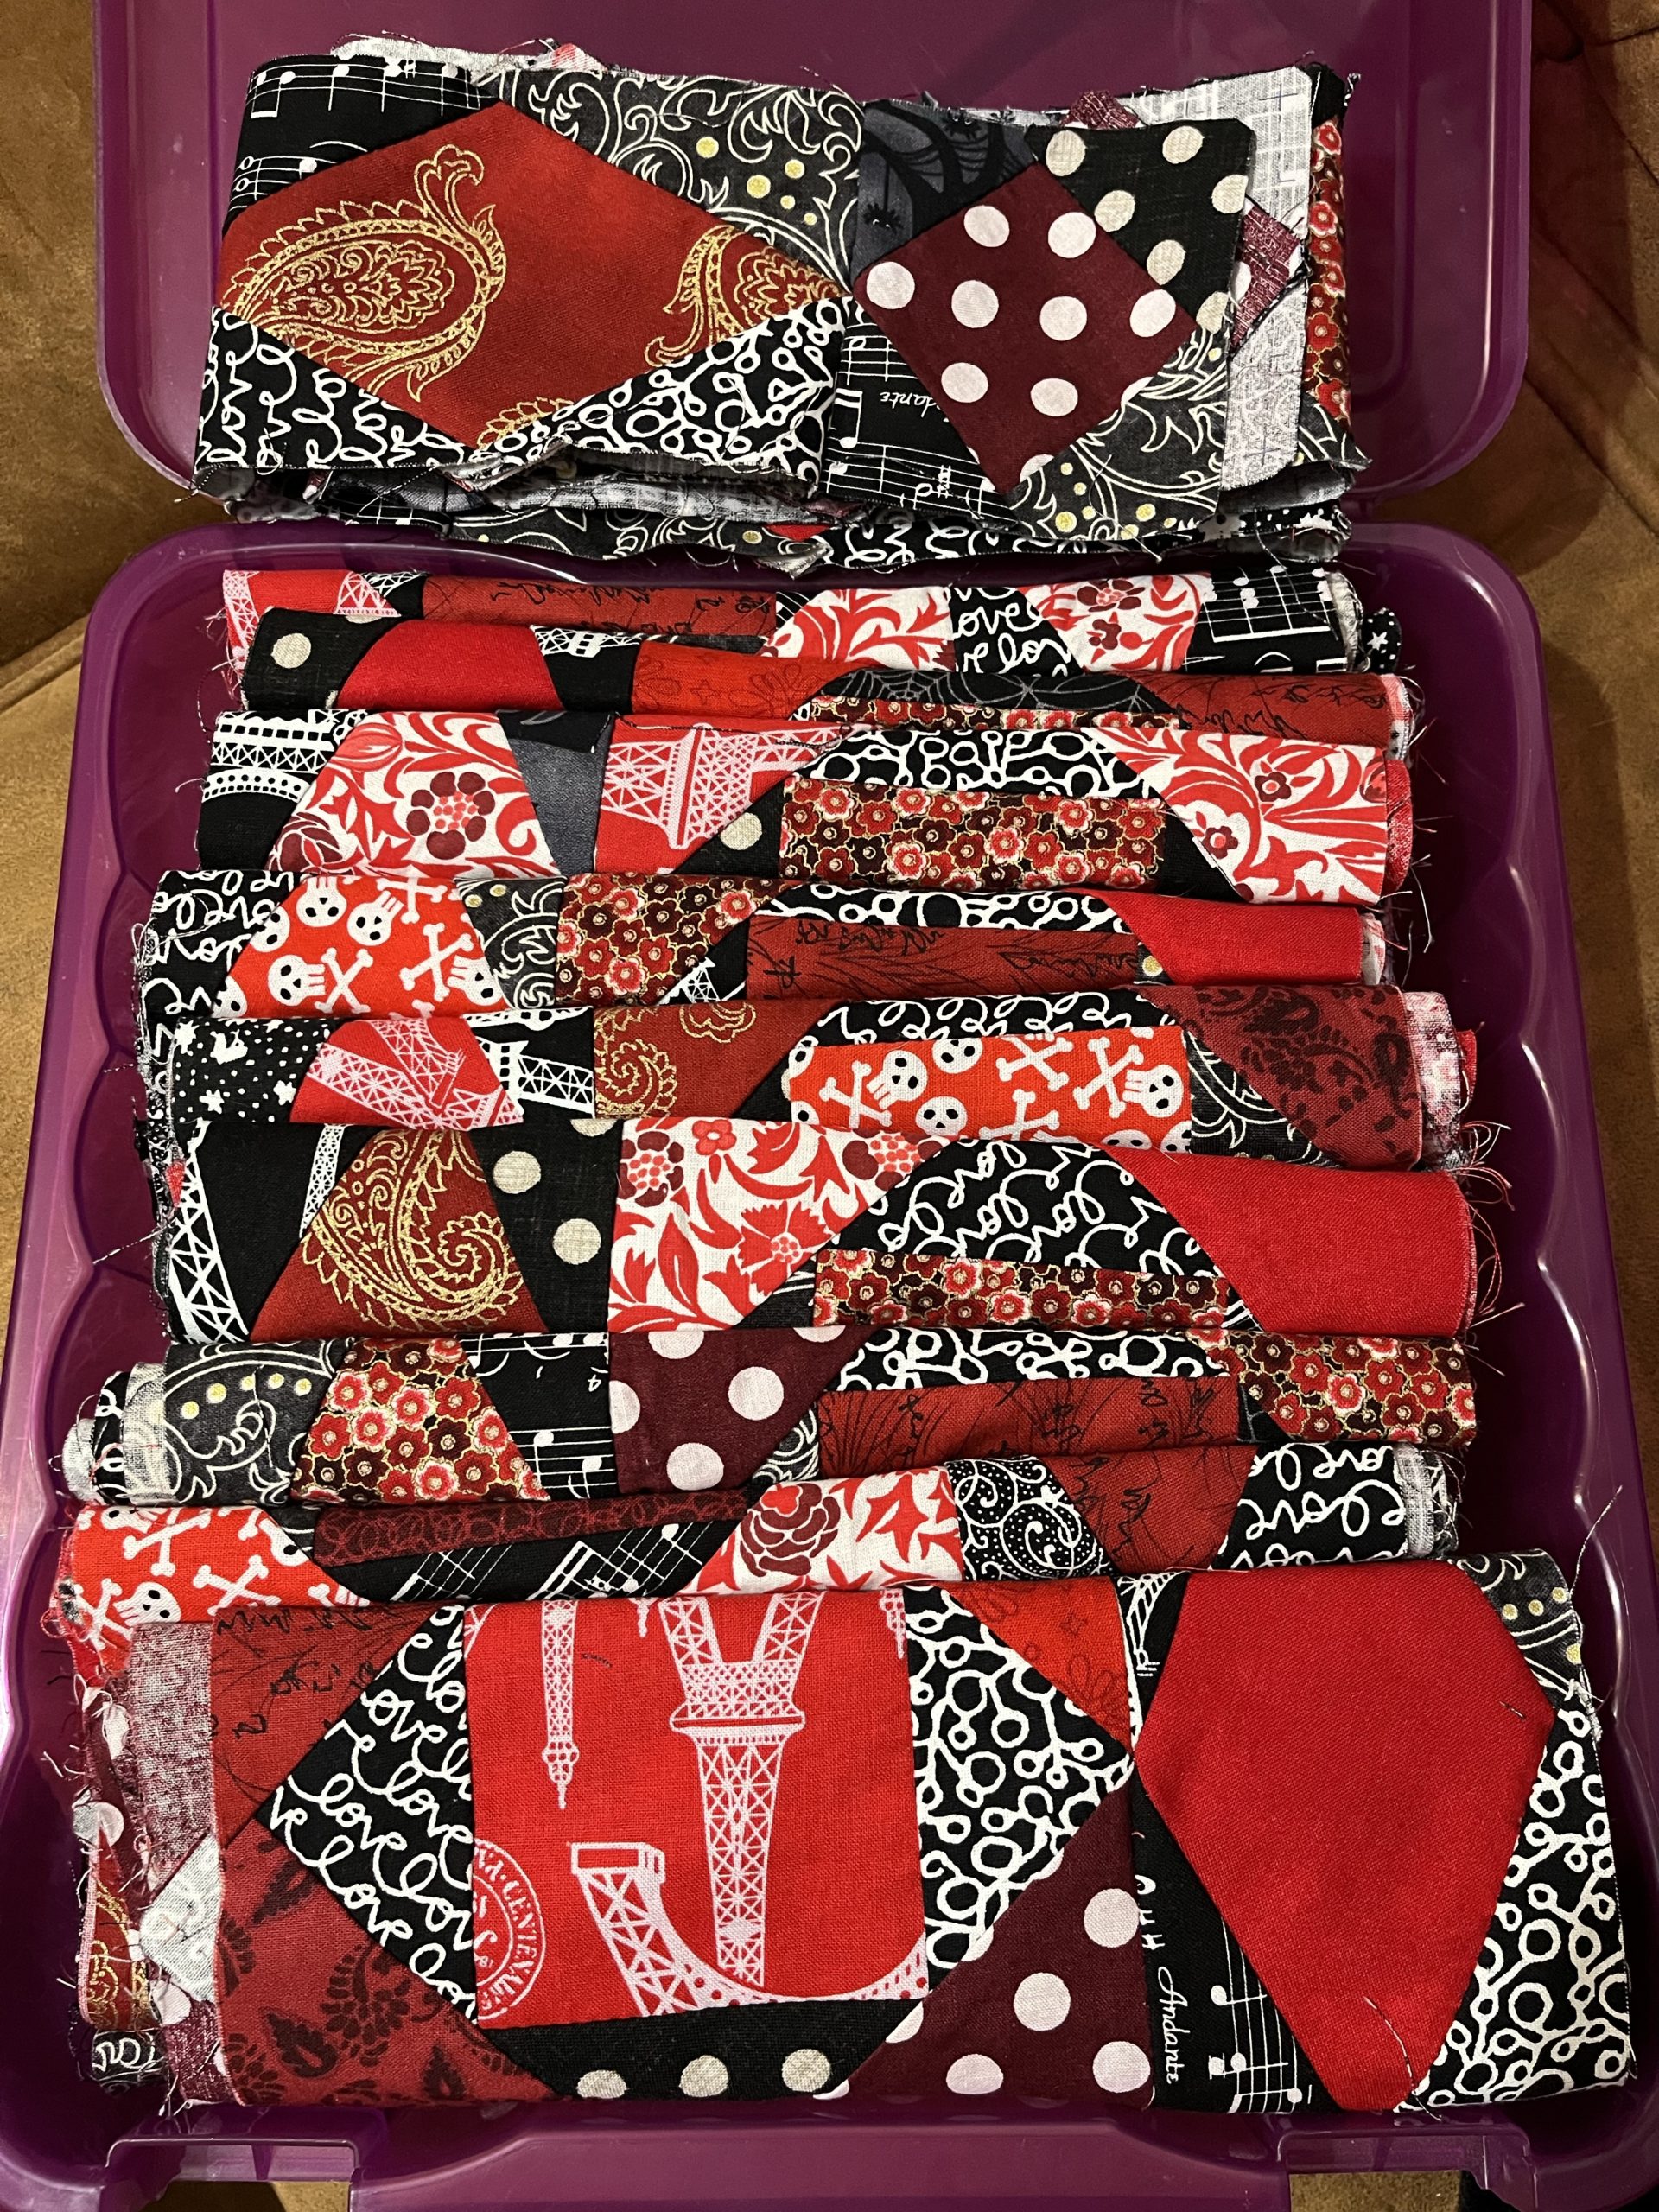
72 nine inch blocks completed! I got a notification from my photo app that i started printing the shapes on fabric FOUR YEARS AGO. It’s fine. We’re here now and I’ve already begun sewing the first row together.
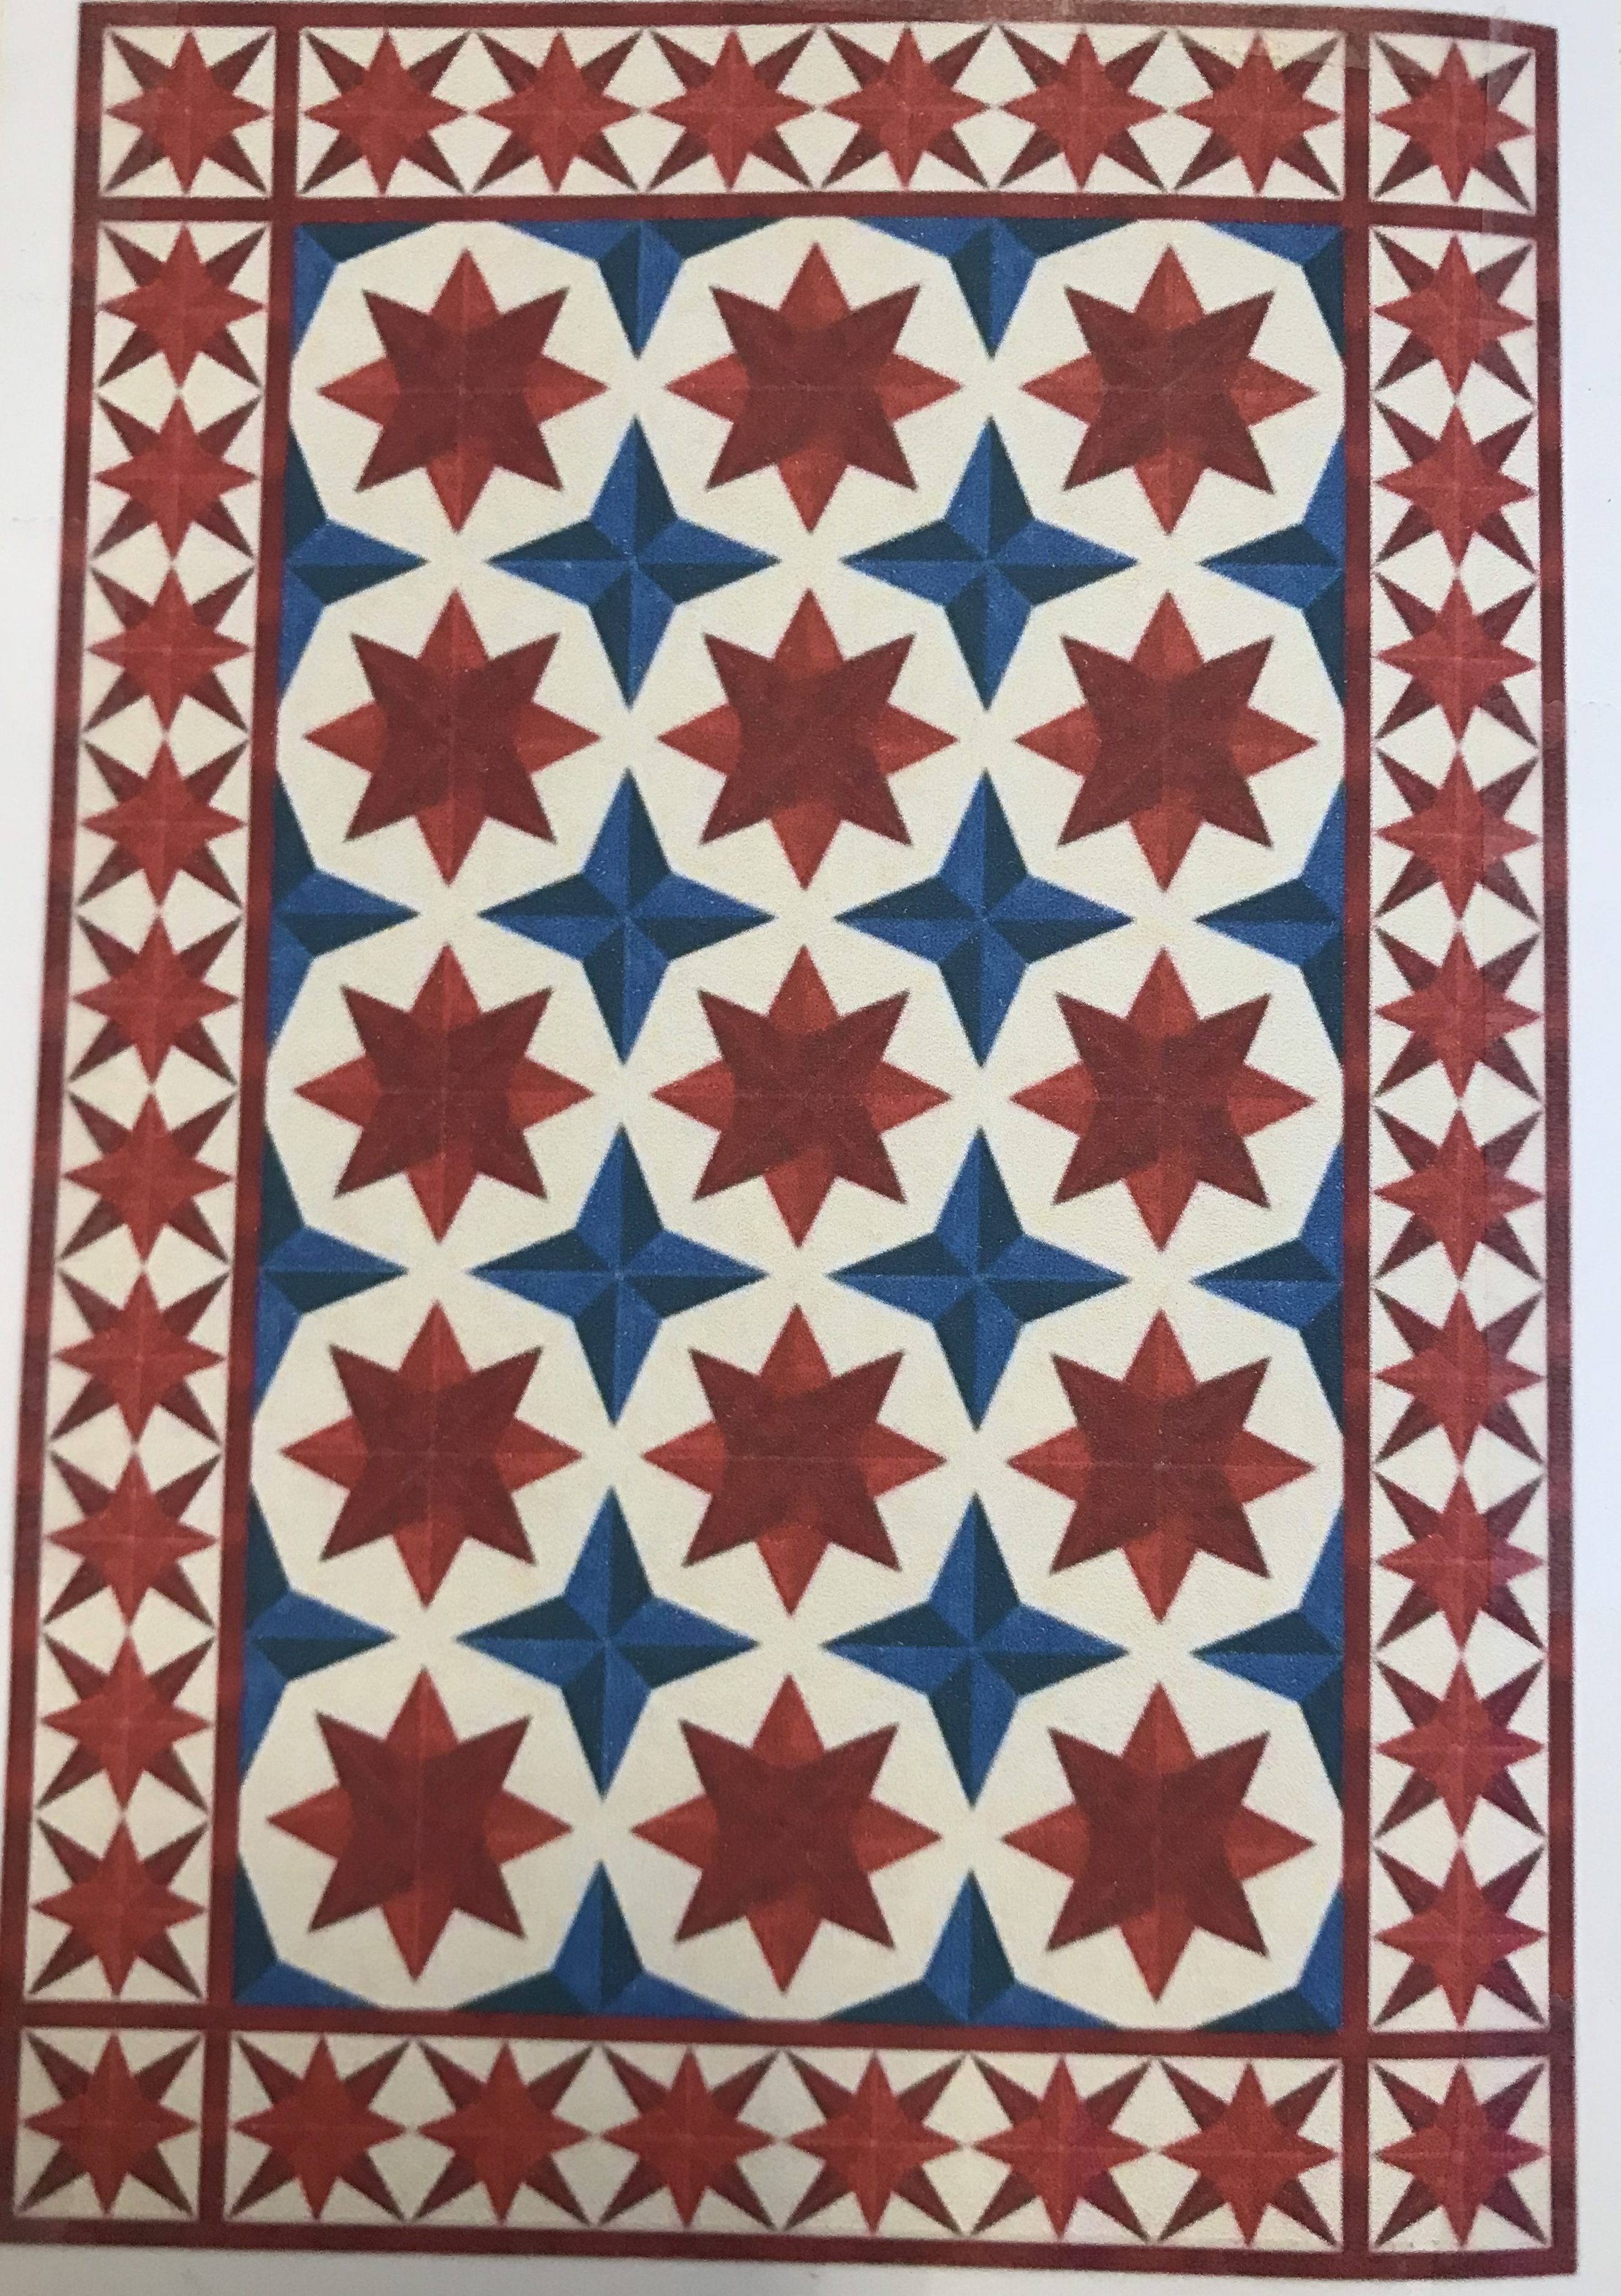
I’ve stalled a bit on this quilt, so decided I needed to see what the final top would look like. I laid out most of the completed blocks on the spare bed to get an idea.
Laying it out helped a lot. I like the way it’s looking. For a while there, I wasn’t sure it would look sharp, that the fabrics would just mush together, but I think it sparkles!
I have about twenty more blocks to go and then I lay it out fully to ensure not too many fabrics are next to themselves. Then it’s sewing into rows and the rows into a top!
I just remembered that I think I planned to add a border as well… it might have to be pieced. I don’t think there is enough fabric left.
I’m planning two quilts for my boy. A clamshell and a compass star quilt. I’ve made a start on the clamshell because it will be a smaller “baby” quilt even though he is more kid than toddler these days.
I started off with this print that I bought last year and added some homespun colours.
Then, with his obvious attraction to Spider-man, I added a couple of those fabrics plus a red to unify the look. I didn’t take a photo of the fabric choices, but I did take one of my final layout after printing and cutting out all the shapes.
My Electric Quilt layout test
All the shapes cut after printing on fabric with Inklingo
My October deadline is looming, but I put my head down and got the quilting done! And the binding made and machine-sewn on! You can still see the blue lines I drew for the inner circles of quilting. Can’t find my spray bottle, so I’ll soak it in cold water after I sew down the binding to the other side. I decided to use the fabrics from the top to make a scrappy-ish binding instead of the backing fabric.
I’m in the middle of quilting my applecore baby quilt and it is coming along nicely. I decided to echo quilt in one direction which is great because I don’t have to mark it!
Hopefully, I’ll be done with the quilting in the next couple of weeks and onto the task of binding!