I picked up this appliquéd bag kit in Taipei and it came with minimal instructions in Chinese (thank you, Google translate) and I decided to finish it using the Plover Pouch pattern. Sewed entirely by hand because I was too lazy to pull out the sewing machine. 😅 #noodleheadpatterns #ploverpouch #yonglefabricmarket #handsewn
For some reason, posting finishes is hard. I entered this quilt into the Melbourne Royal Show before it was completed. I thought that the three months to due date was enough to finish the quilting I had just started and submit to the show. And I suppose it was, except it took a solid month of sewing for hours every day to ensure it was done in time and even then, I had my hubby drive me so that I could try and quickly sew on a hanging sleeve (which wasn’t used anyway).
The full quilt
It ended up being fairly stressful but it got done and it got a First!
First! But they didn’t use the hanging sleeve 🫠
Some more pictures
Quilting progress
I used a variegated sashiko thread I bought from the AQC quilt show.
My haul from the AQC Quilt Show 2023
The thread ran out right near the end and I ended up using some red perle 8 to finish off the border.
I haven’t even tried to calculate the total cost or time spent but it was definitely a LOT. I was very happy to gift it to my sister at Christmas.
72 nine inch blocks completed! I got a notification from my photo app that i started printing the shapes on fabric FOUR YEARS AGO. It’s fine. We’re here now and I’ve already begun sewing the first row together.
I’ve stalled a bit on this quilt, so decided I needed to see what the final top would look like. I laid out most of the completed blocks on the spare bed to get an idea.
Laying it out helped a lot. I like the way it’s looking. For a while there, I wasn’t sure it would look sharp, that the fabrics would just mush together, but I think it sparkles!
I have about twenty more blocks to go and then I lay it out fully to ensure not too many fabrics are next to themselves. Then it’s sewing into rows and the rows into a top!
I just remembered that I think I planned to add a border as well… it might have to be pieced. I don’t think there is enough fabric left.
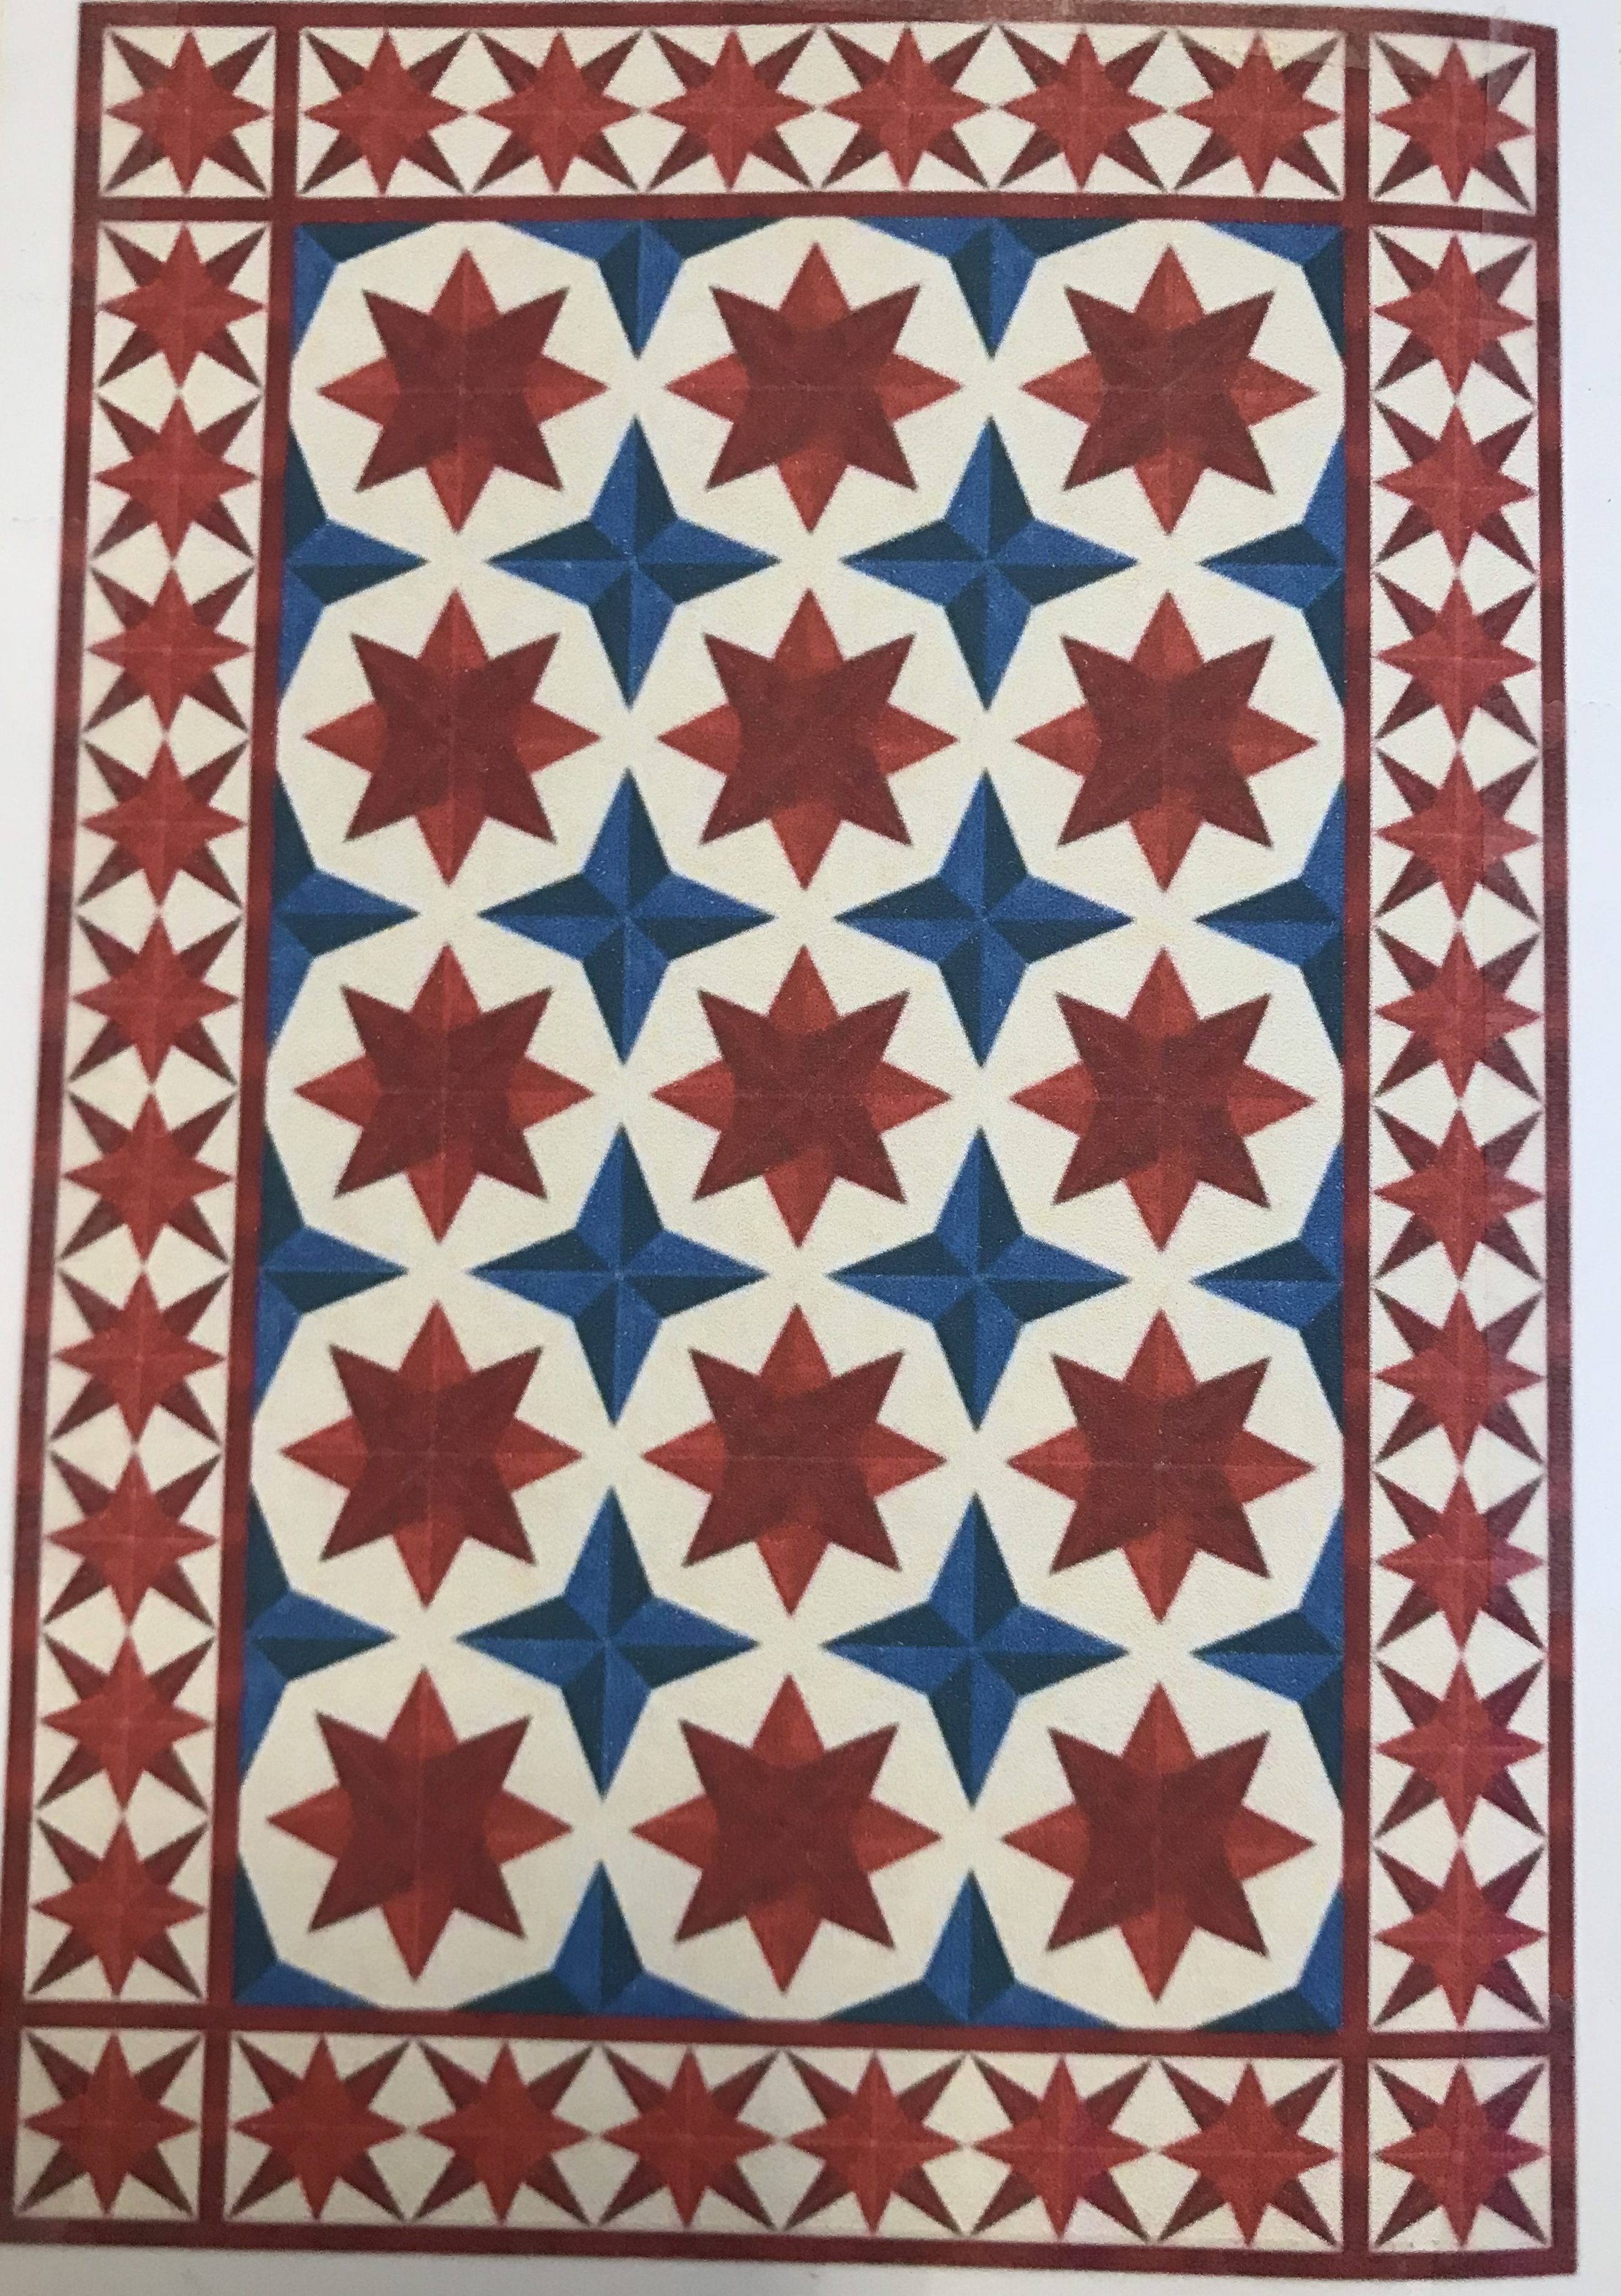
So about a decade ago, I ordered this kit from Alabama Chanin. It is still unfinished and to distract myself from starting new projects, I’m looking at it again. The original design was allover Le Moyne stars, but I’ve departed from that idea before. I reopened my EQ file and I’ve settled on this design.
Indigo Carpenter Star Quilt
The more I look at this, the more I like it and I think it’ll be enough to get it finished. After finishing my Christmas makes. And after finishing the Storm At Sea. And maybe I’ll try and fit it in between all the other things..
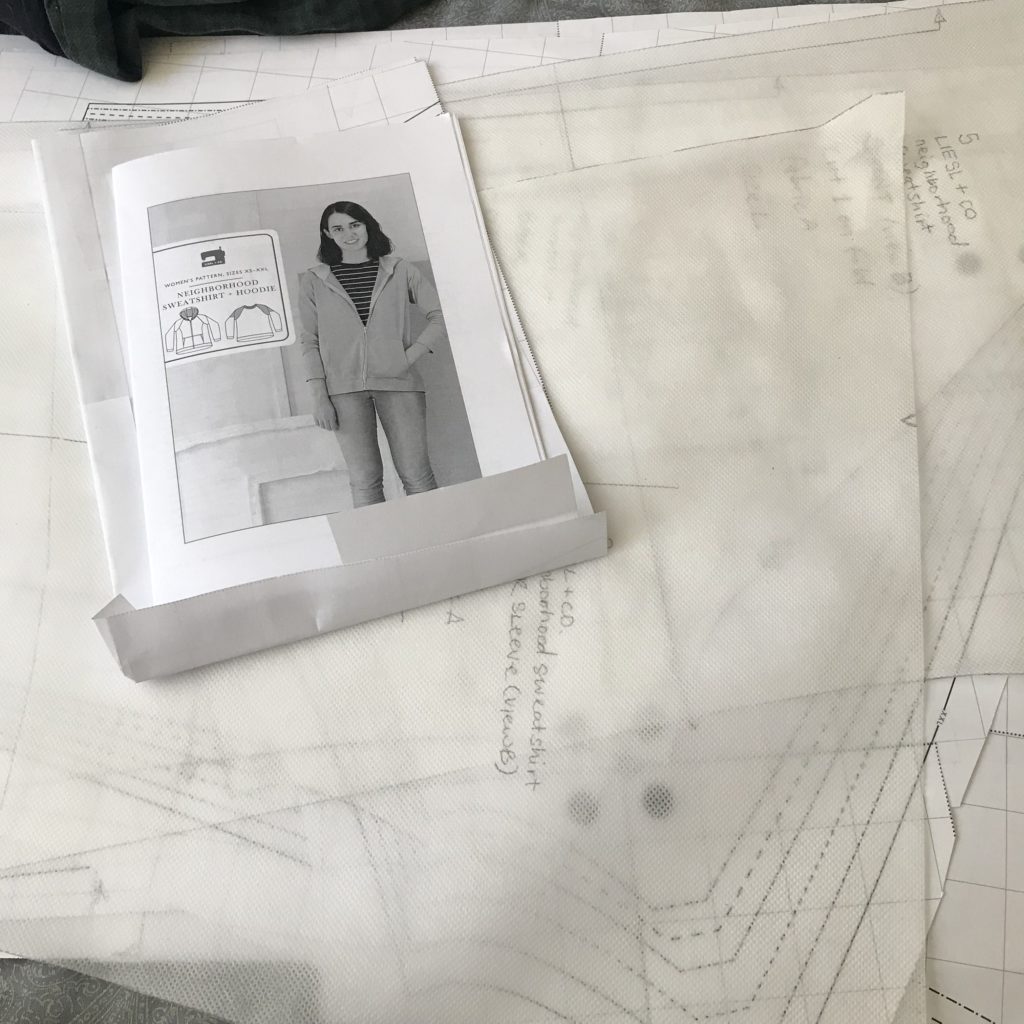
I’ve bought so many patterns but have so many projects in some form of progress, that when Liesl mentioned the sew-a-long, I thought, yes, let’s bump that up the list.
I had some cheap offcuts that I bought at Spotlight ages ago that I thought would be perfect for a light sweatshirt. It’s a lightweight knit that is definitely not cotton. I determined this by setting the iron to cotton and tried to press a scrap. While it didn’t melt, it definitely didn’t press.
As I cut out the pieces, I discovered that I didn’t have enough to cut the lower sleeves in grey, so I created a stripe and cut the rest of the sleeve in blue. I’m happy with this as I actually wanted a mostly blue sleeve.
I also had to piece the hem band. I really screwed this one up and cut it with the grain instead of across. But because it’s not a tight fit, I decided to add it anyway to finish it off.
I sewed all the seams and edge stitching with a zigzag stitch.
And so here we are, a completed sweatshirt that I think fits well!
Front viewSleeve detailBack viewEverything looks neater with felled seams.
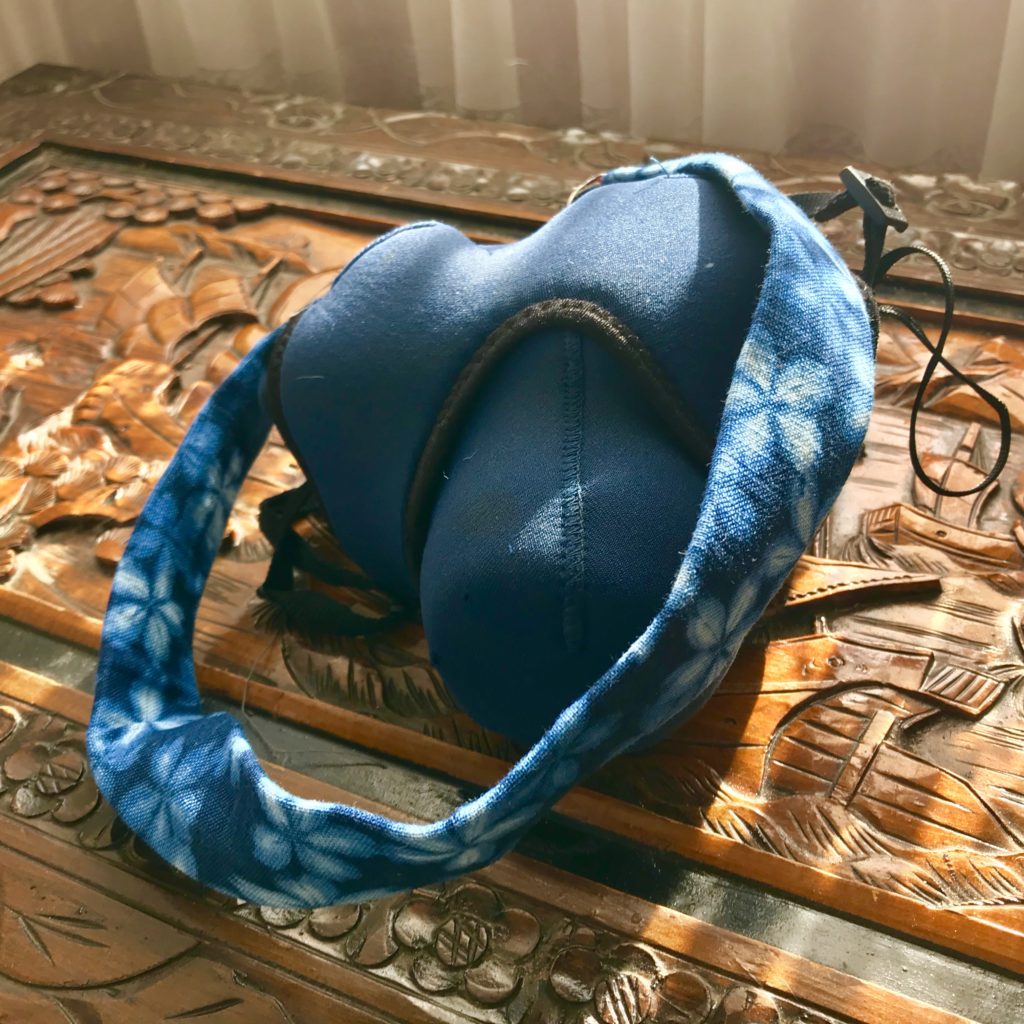
I covered my camera strap years ago and being the kind of thing that you don’t normally wash, it has gotten really, really manky. To the point where hubby refused to put it around his neck when I needed him to hold it for me. He was right, it was disgusting.
I found some really lovely indigo fabric at a fabric market in Taipei and bought more than enough to cover my strap and maybe make a tote.
I’m planning two quilts for my boy. A clamshell and a compass star quilt. I’ve made a start on the clamshell because it will be a smaller “baby” quilt even though he is more kid than toddler these days.
I started off with this print that I bought last year and added some homespun colours.
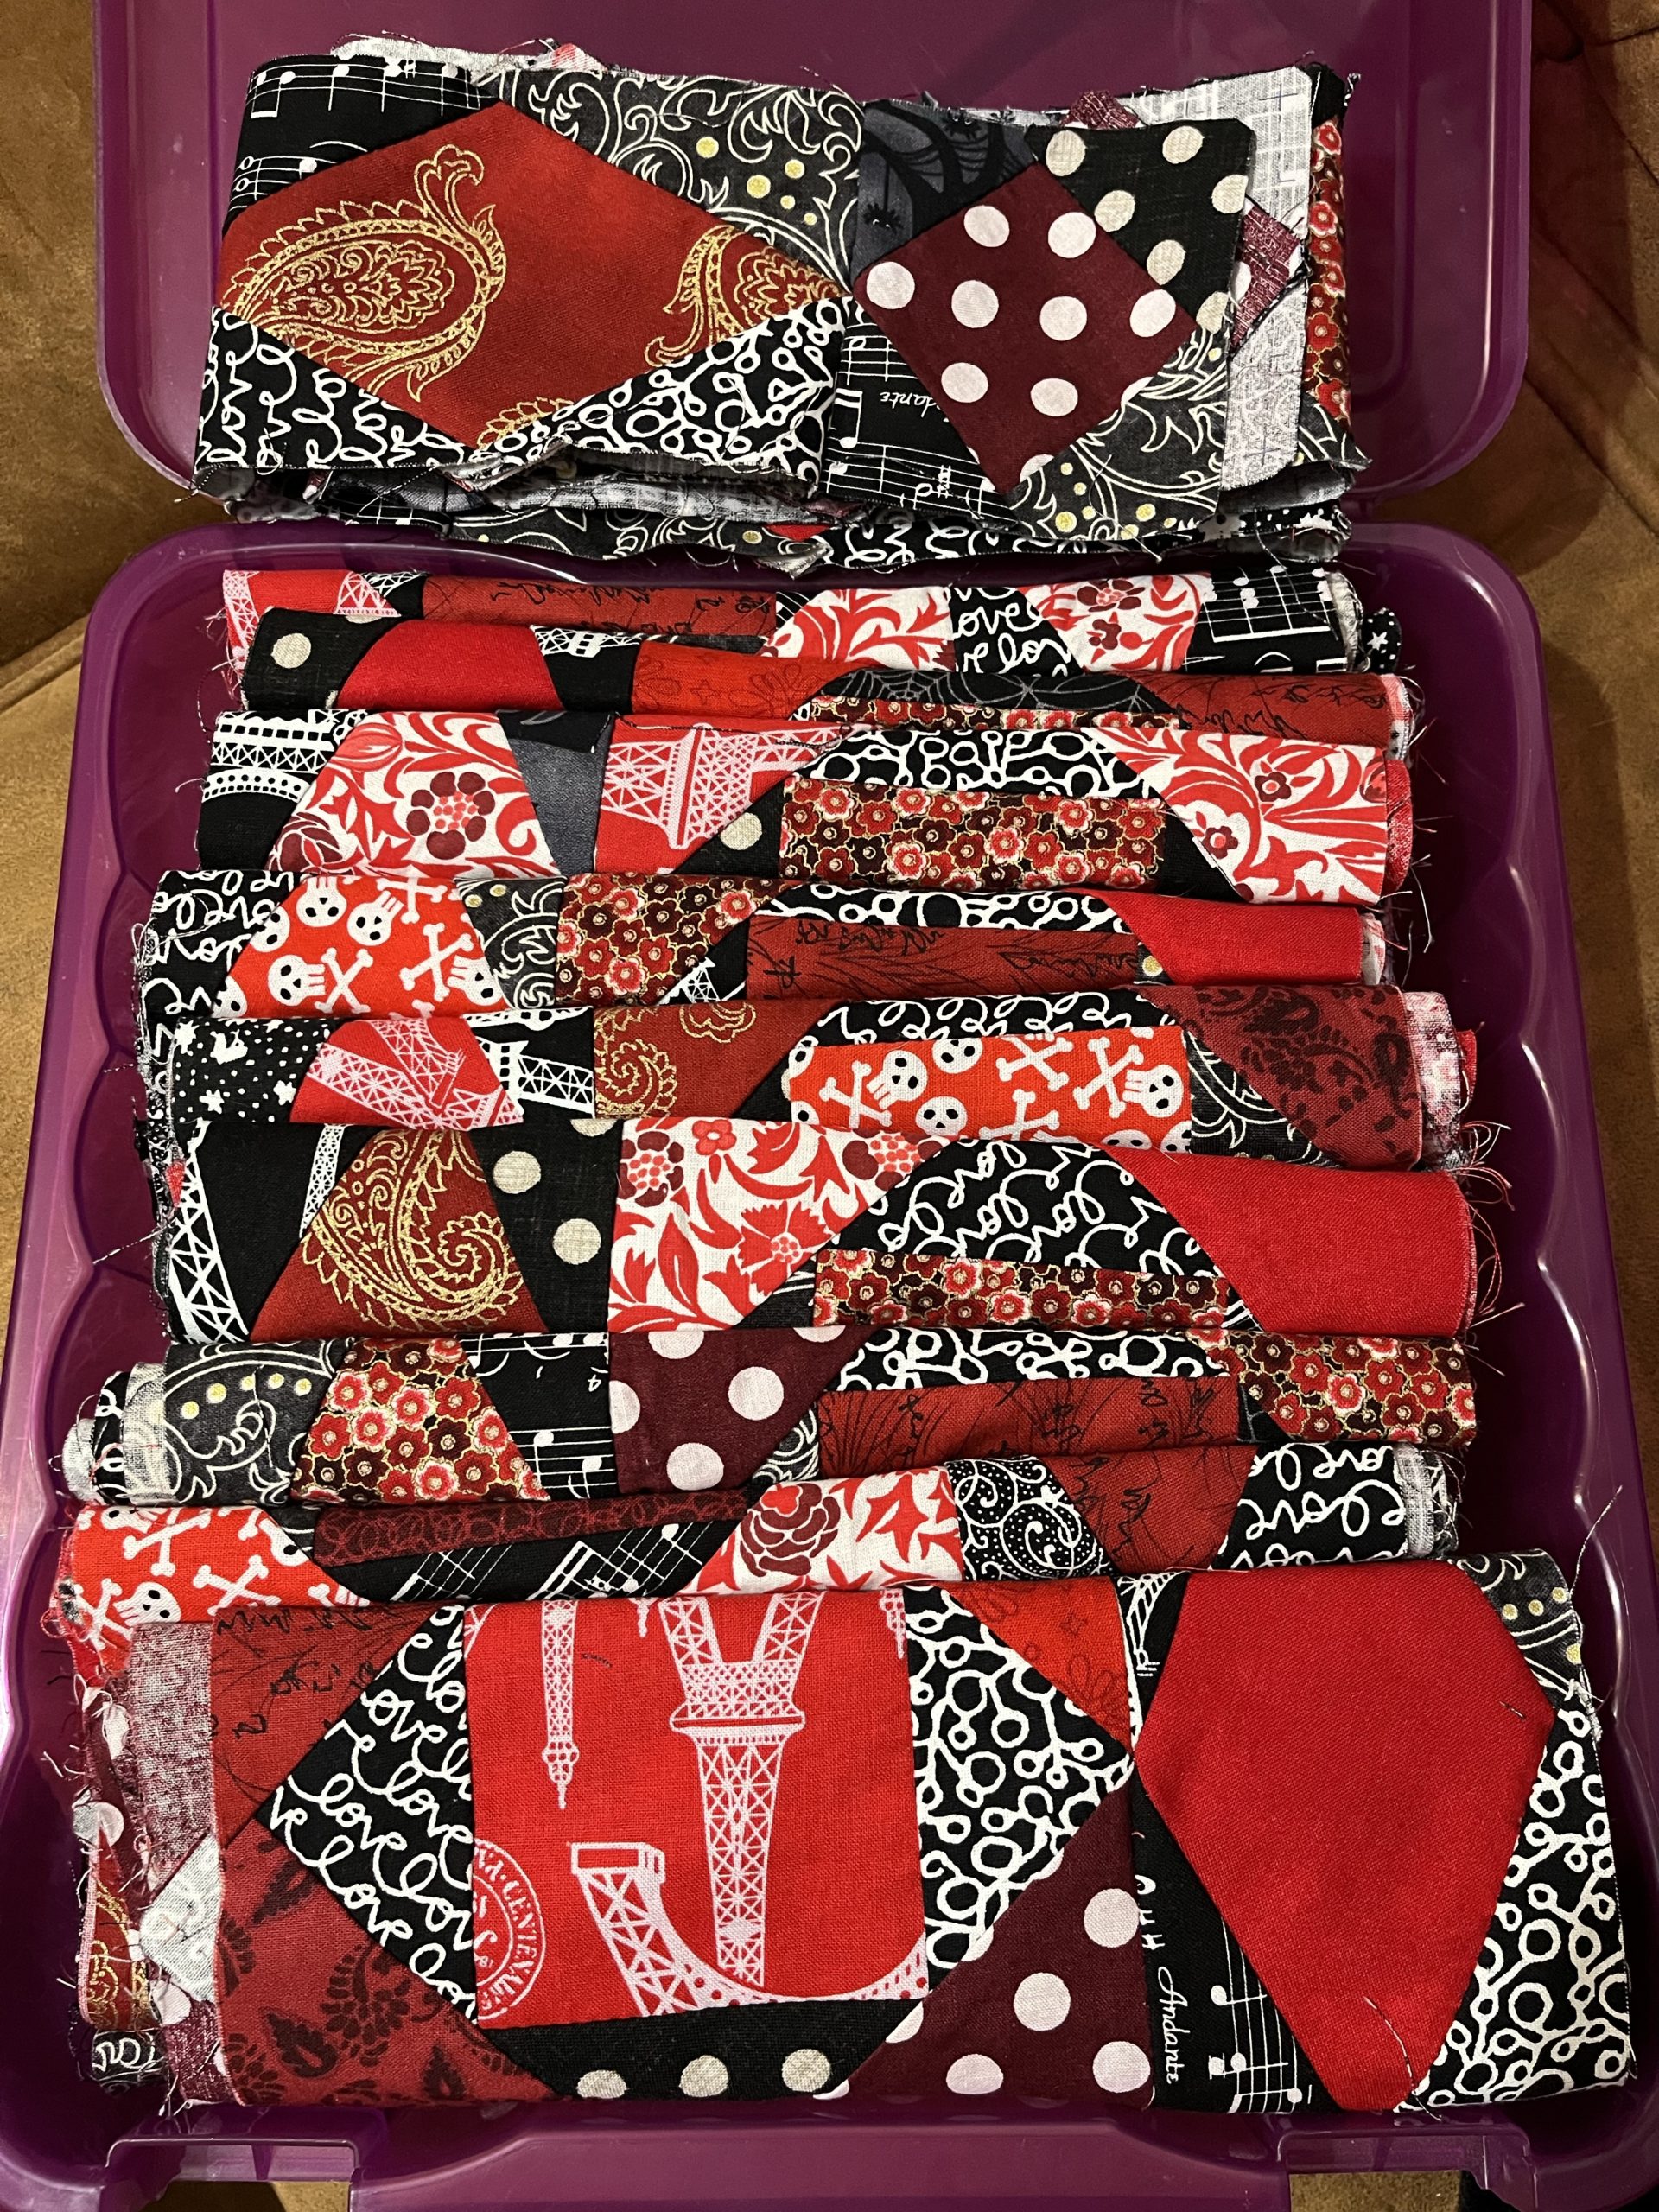
Then, with his obvious attraction to Spider-man, I added a couple of those fabrics plus a red to unify the look. I didn’t take a photo of the fabric choices, but I did take one of my final layout after printing and cutting out all the shapes.
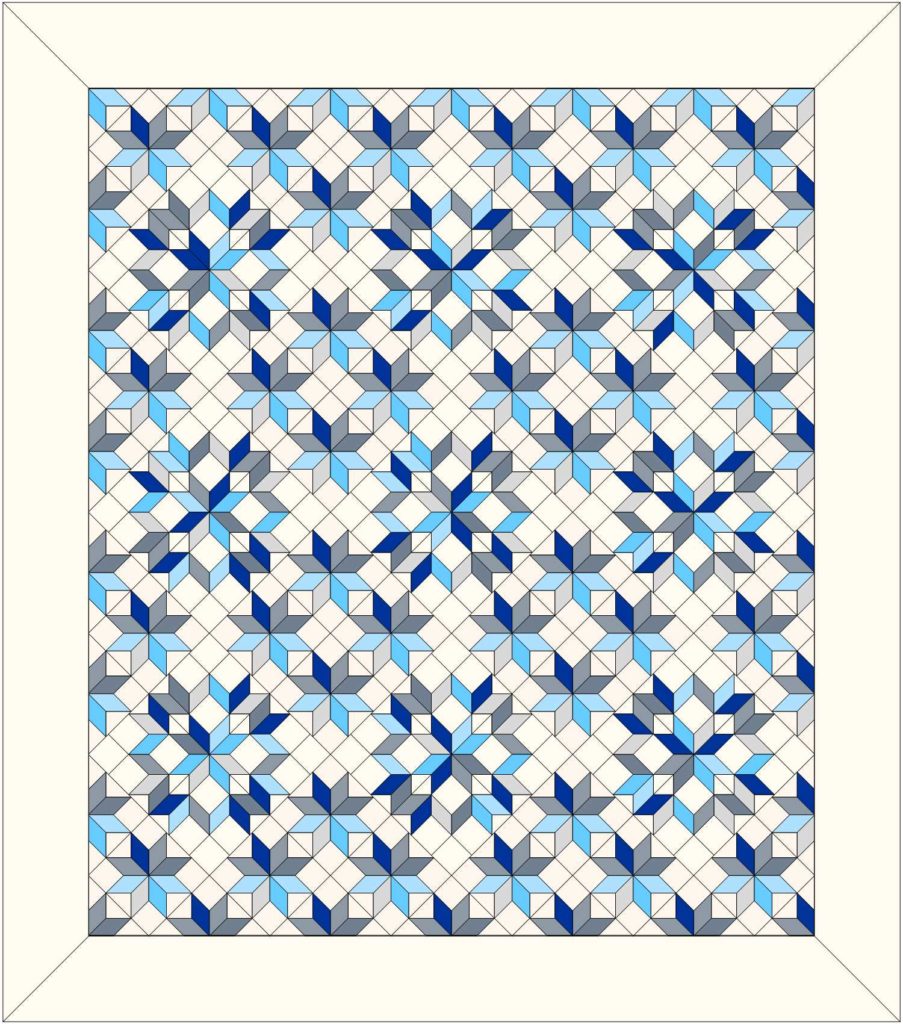
My Electric Quilt layout test
All the shapes cut after printing on fabric with Inklingo
How is it already October?! My last update was quite a while ago. I need to figure out how to post automatically from Instagram so that it doesn’t happen again!
I’m working on several different projects, but here’s an update on the Advent Calendar. I have 16 ornaments decorated with sequins and beads. Eight to go and the only thing left to do will be to sew on magnets to the ornaments and jump rings to the tree.
I ended up buying an assorted colours bag of 4mm sequins and sorted out about a third into their colours. It was really cheap this way, but labor-intensive.
The pattern suggests pins to attach the ornaments, but I like the idea of magnets. I bought some tiny neodymium magnets earlier this year to make magnets out of buttons that my kid liked.